| Video Guide |
| Introduction |
| i-Neighbour is a Smart Community Solution that aims to bring conveniences for the Management and Residents. One of its major features is the Key Collection Module, whereby Residents can schedule an appointment with the Management to retrieve their keys for the unit. Below is a quick guide for both parties on how this can be achieved in i-Neighbour: |
|
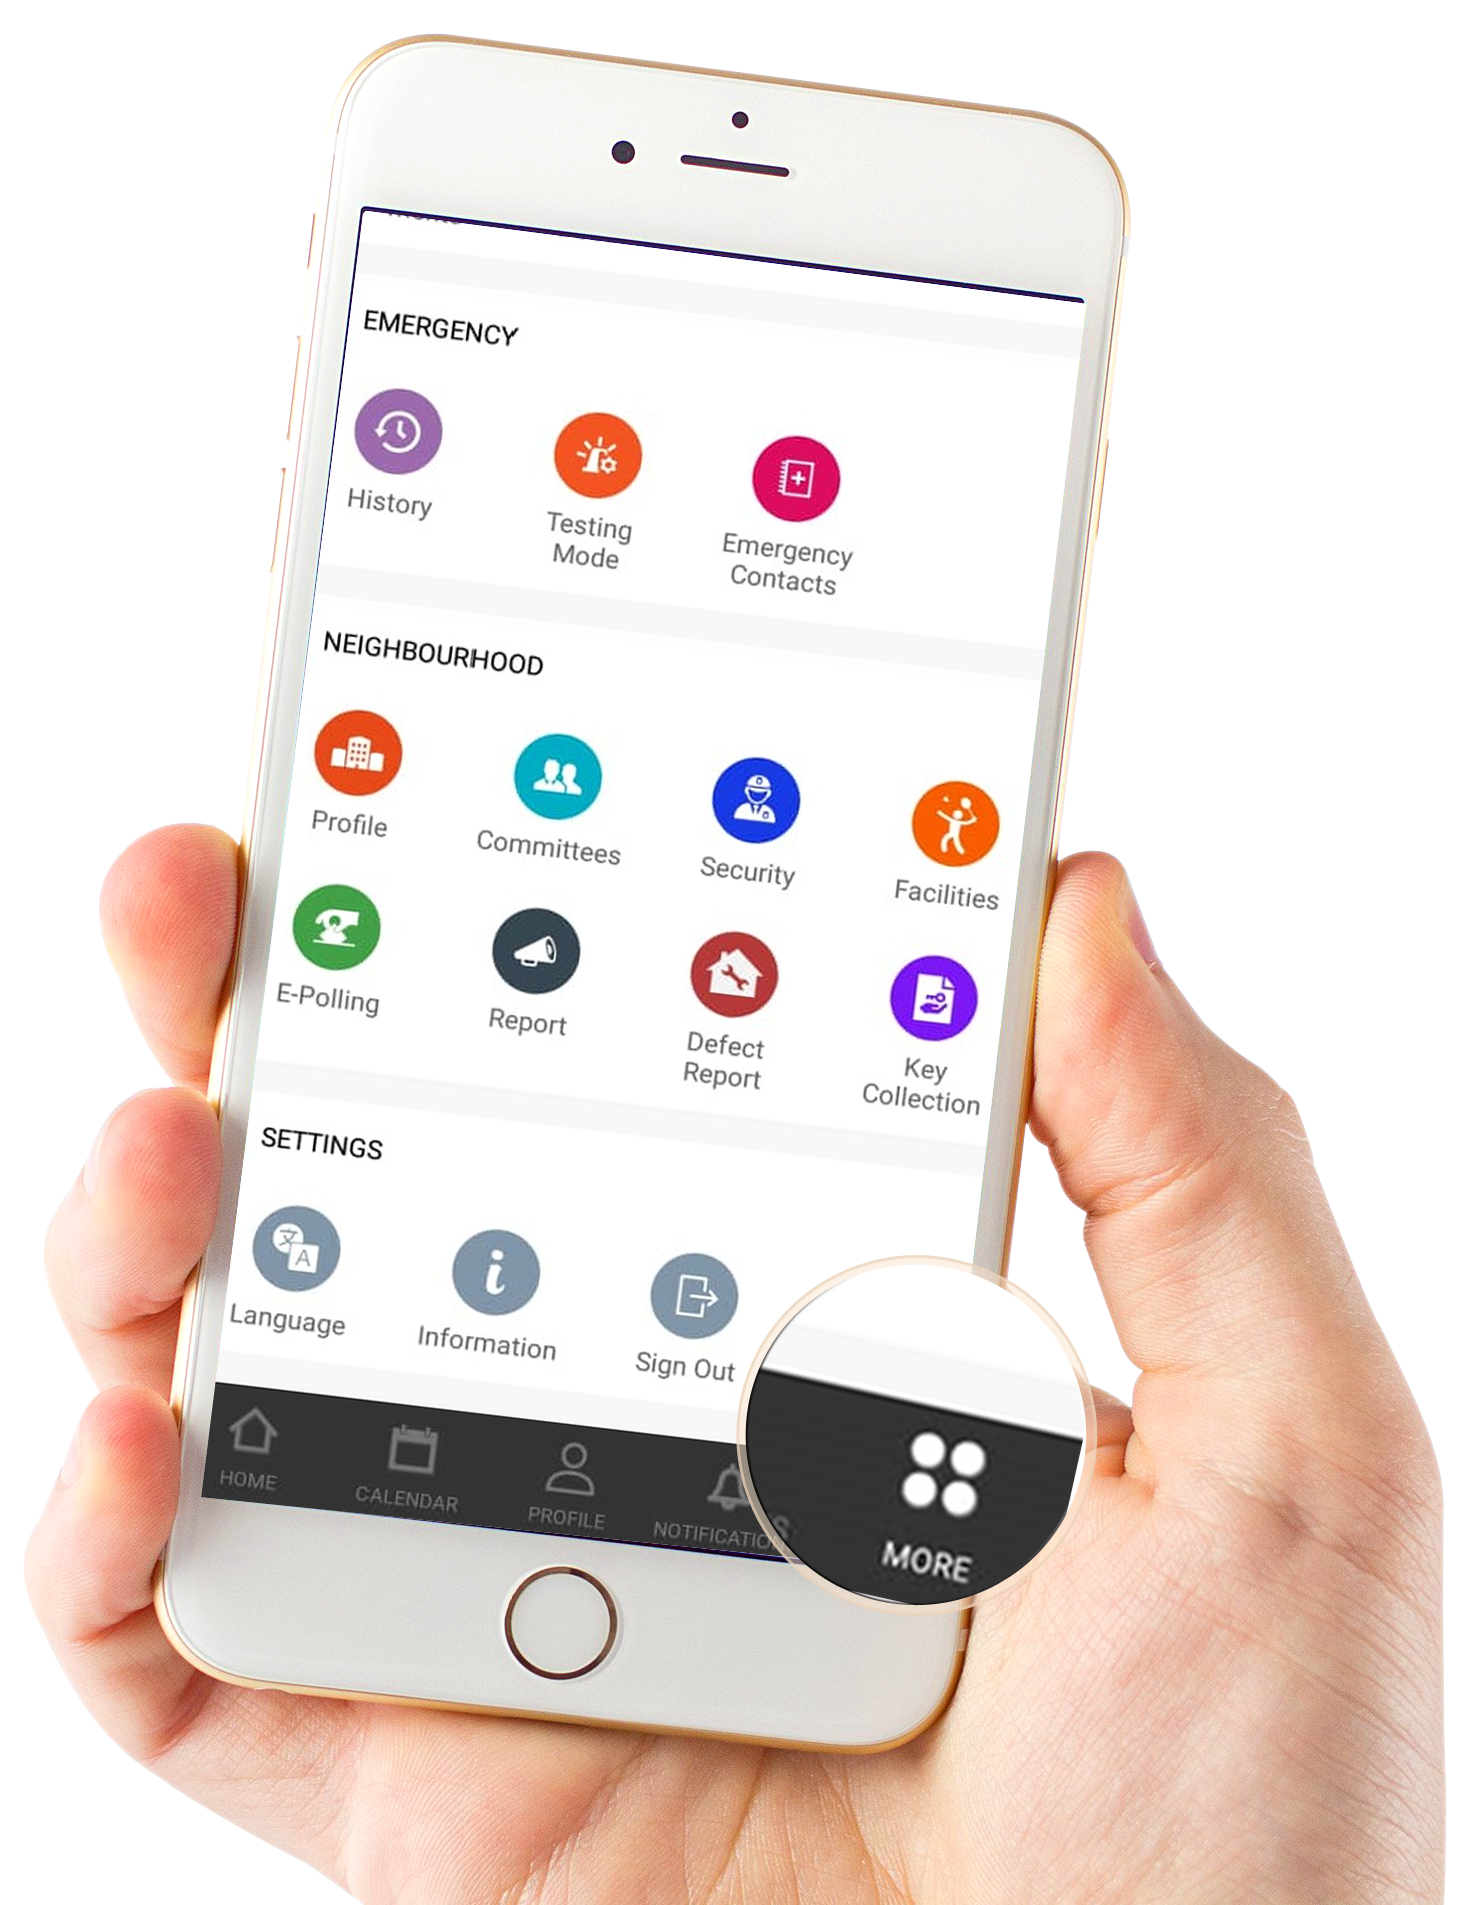
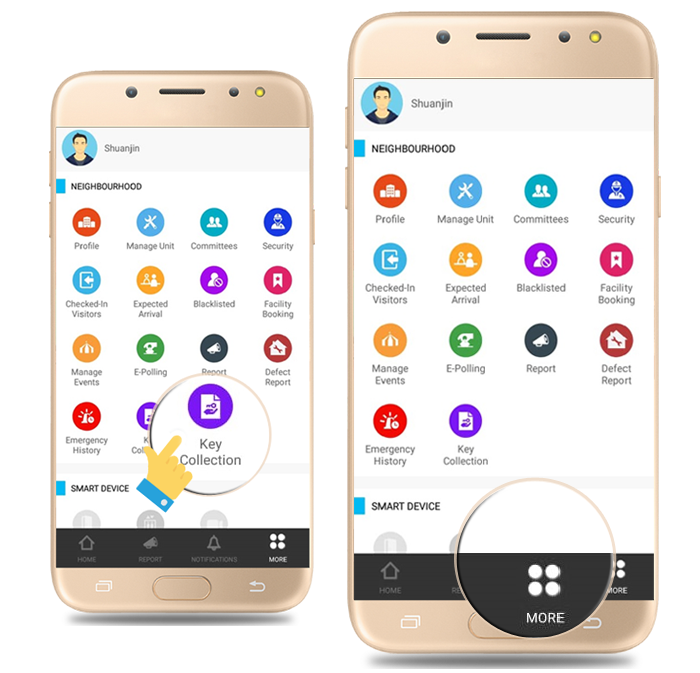
| Step1 : Click on “Key Collection” under the “More” tab. |
 |
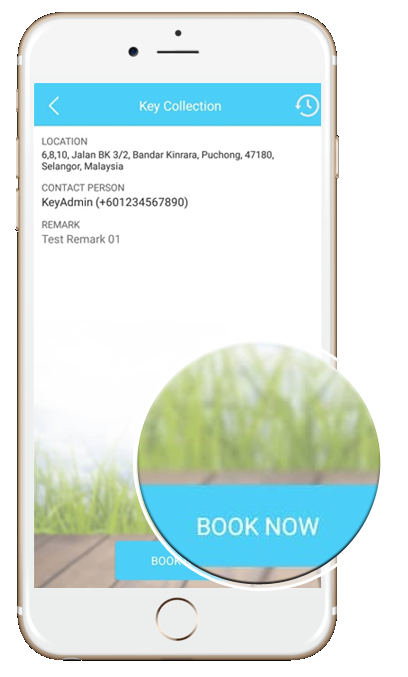
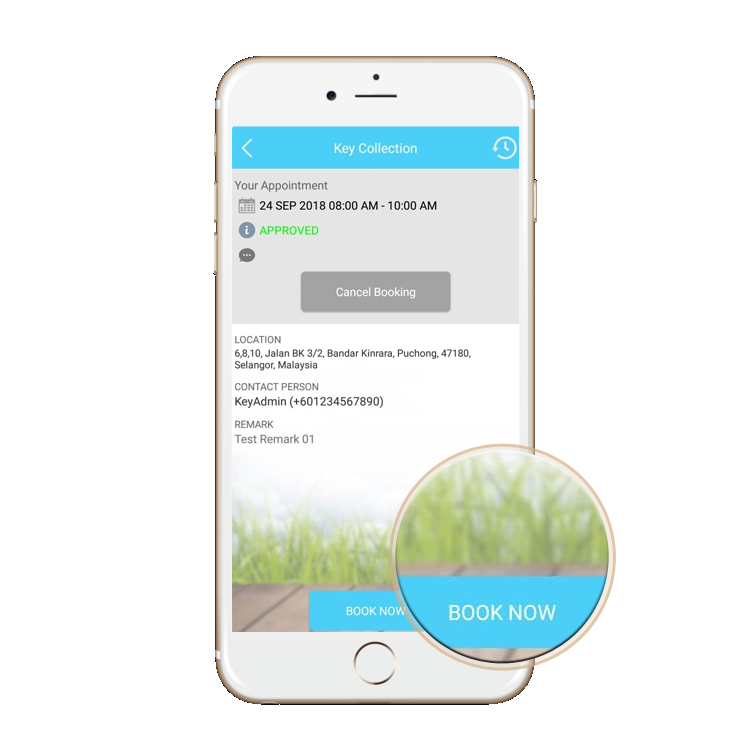
| Step2 : Tap on “Book Now”. |
 |
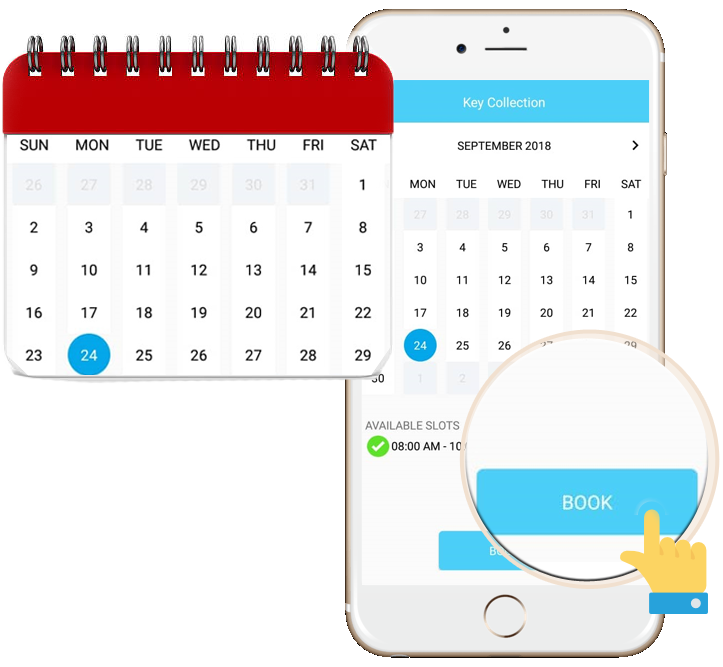
| Step3 : Select the available date & time slot. Proceed with“Book”. |
 |
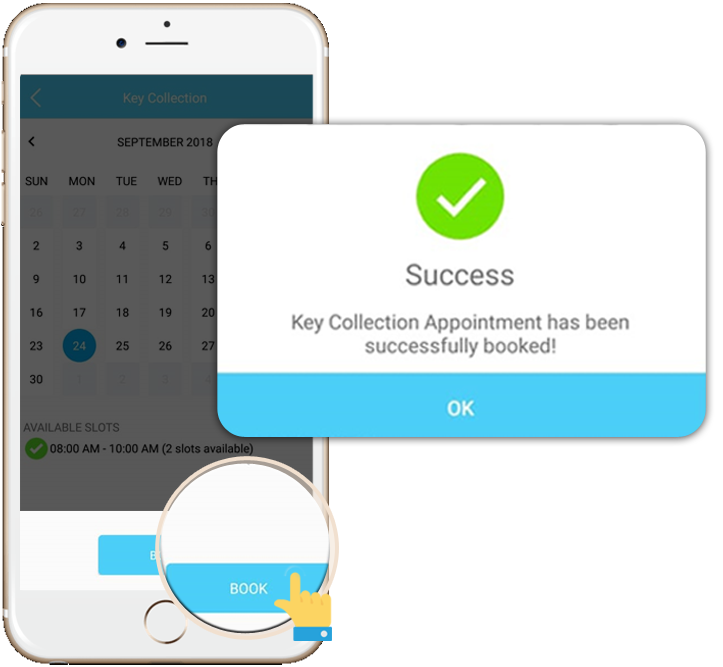
| Step4 : Once the booking is completed, it will be subjected to the Management’s approval. |
 |
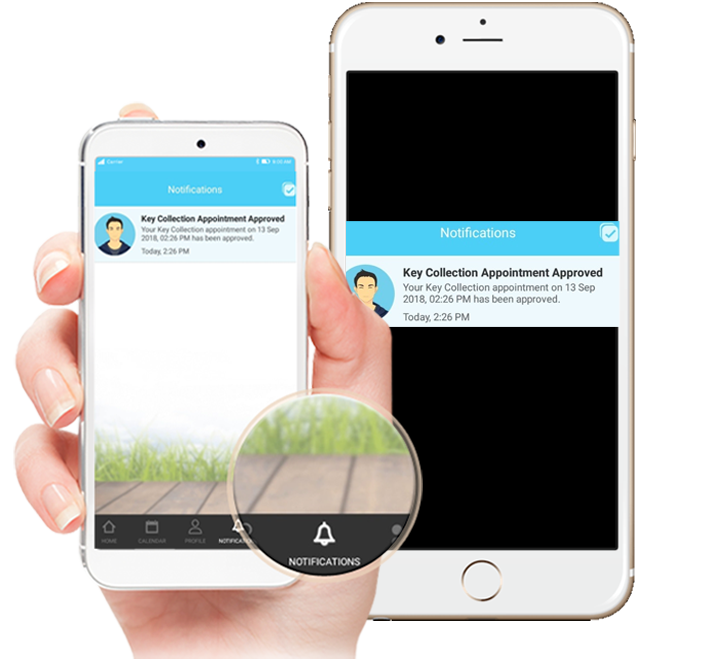
| Step5 : Residents will receive a notification upon the Management’s approval. |
 |
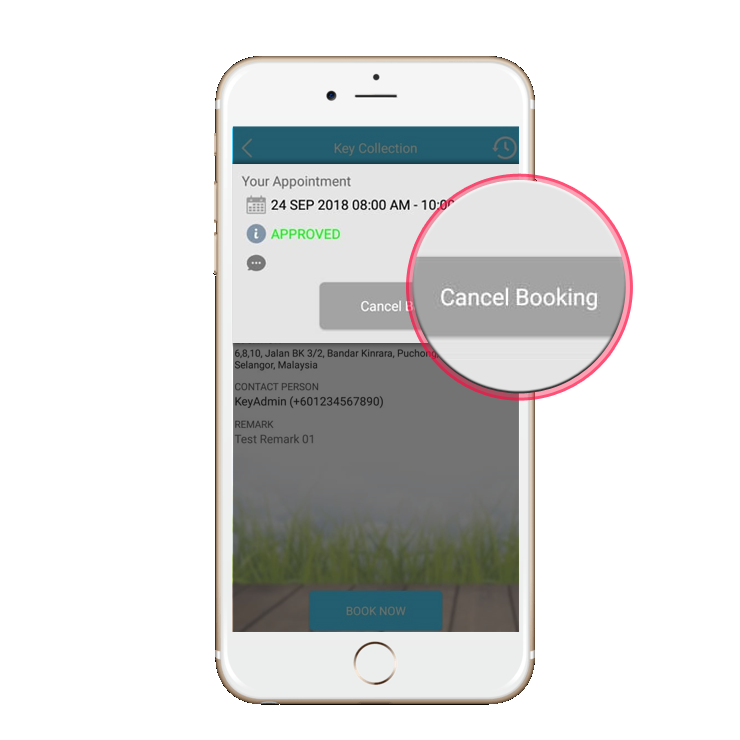
| Step6 : If unavailable, Residents may also reschedule by selecting “Cancel Booking” and resubmitting a new Booking Form. |
  |
|
| Step 1 : Click on “Key Collection” under the “More” tab. |
 |
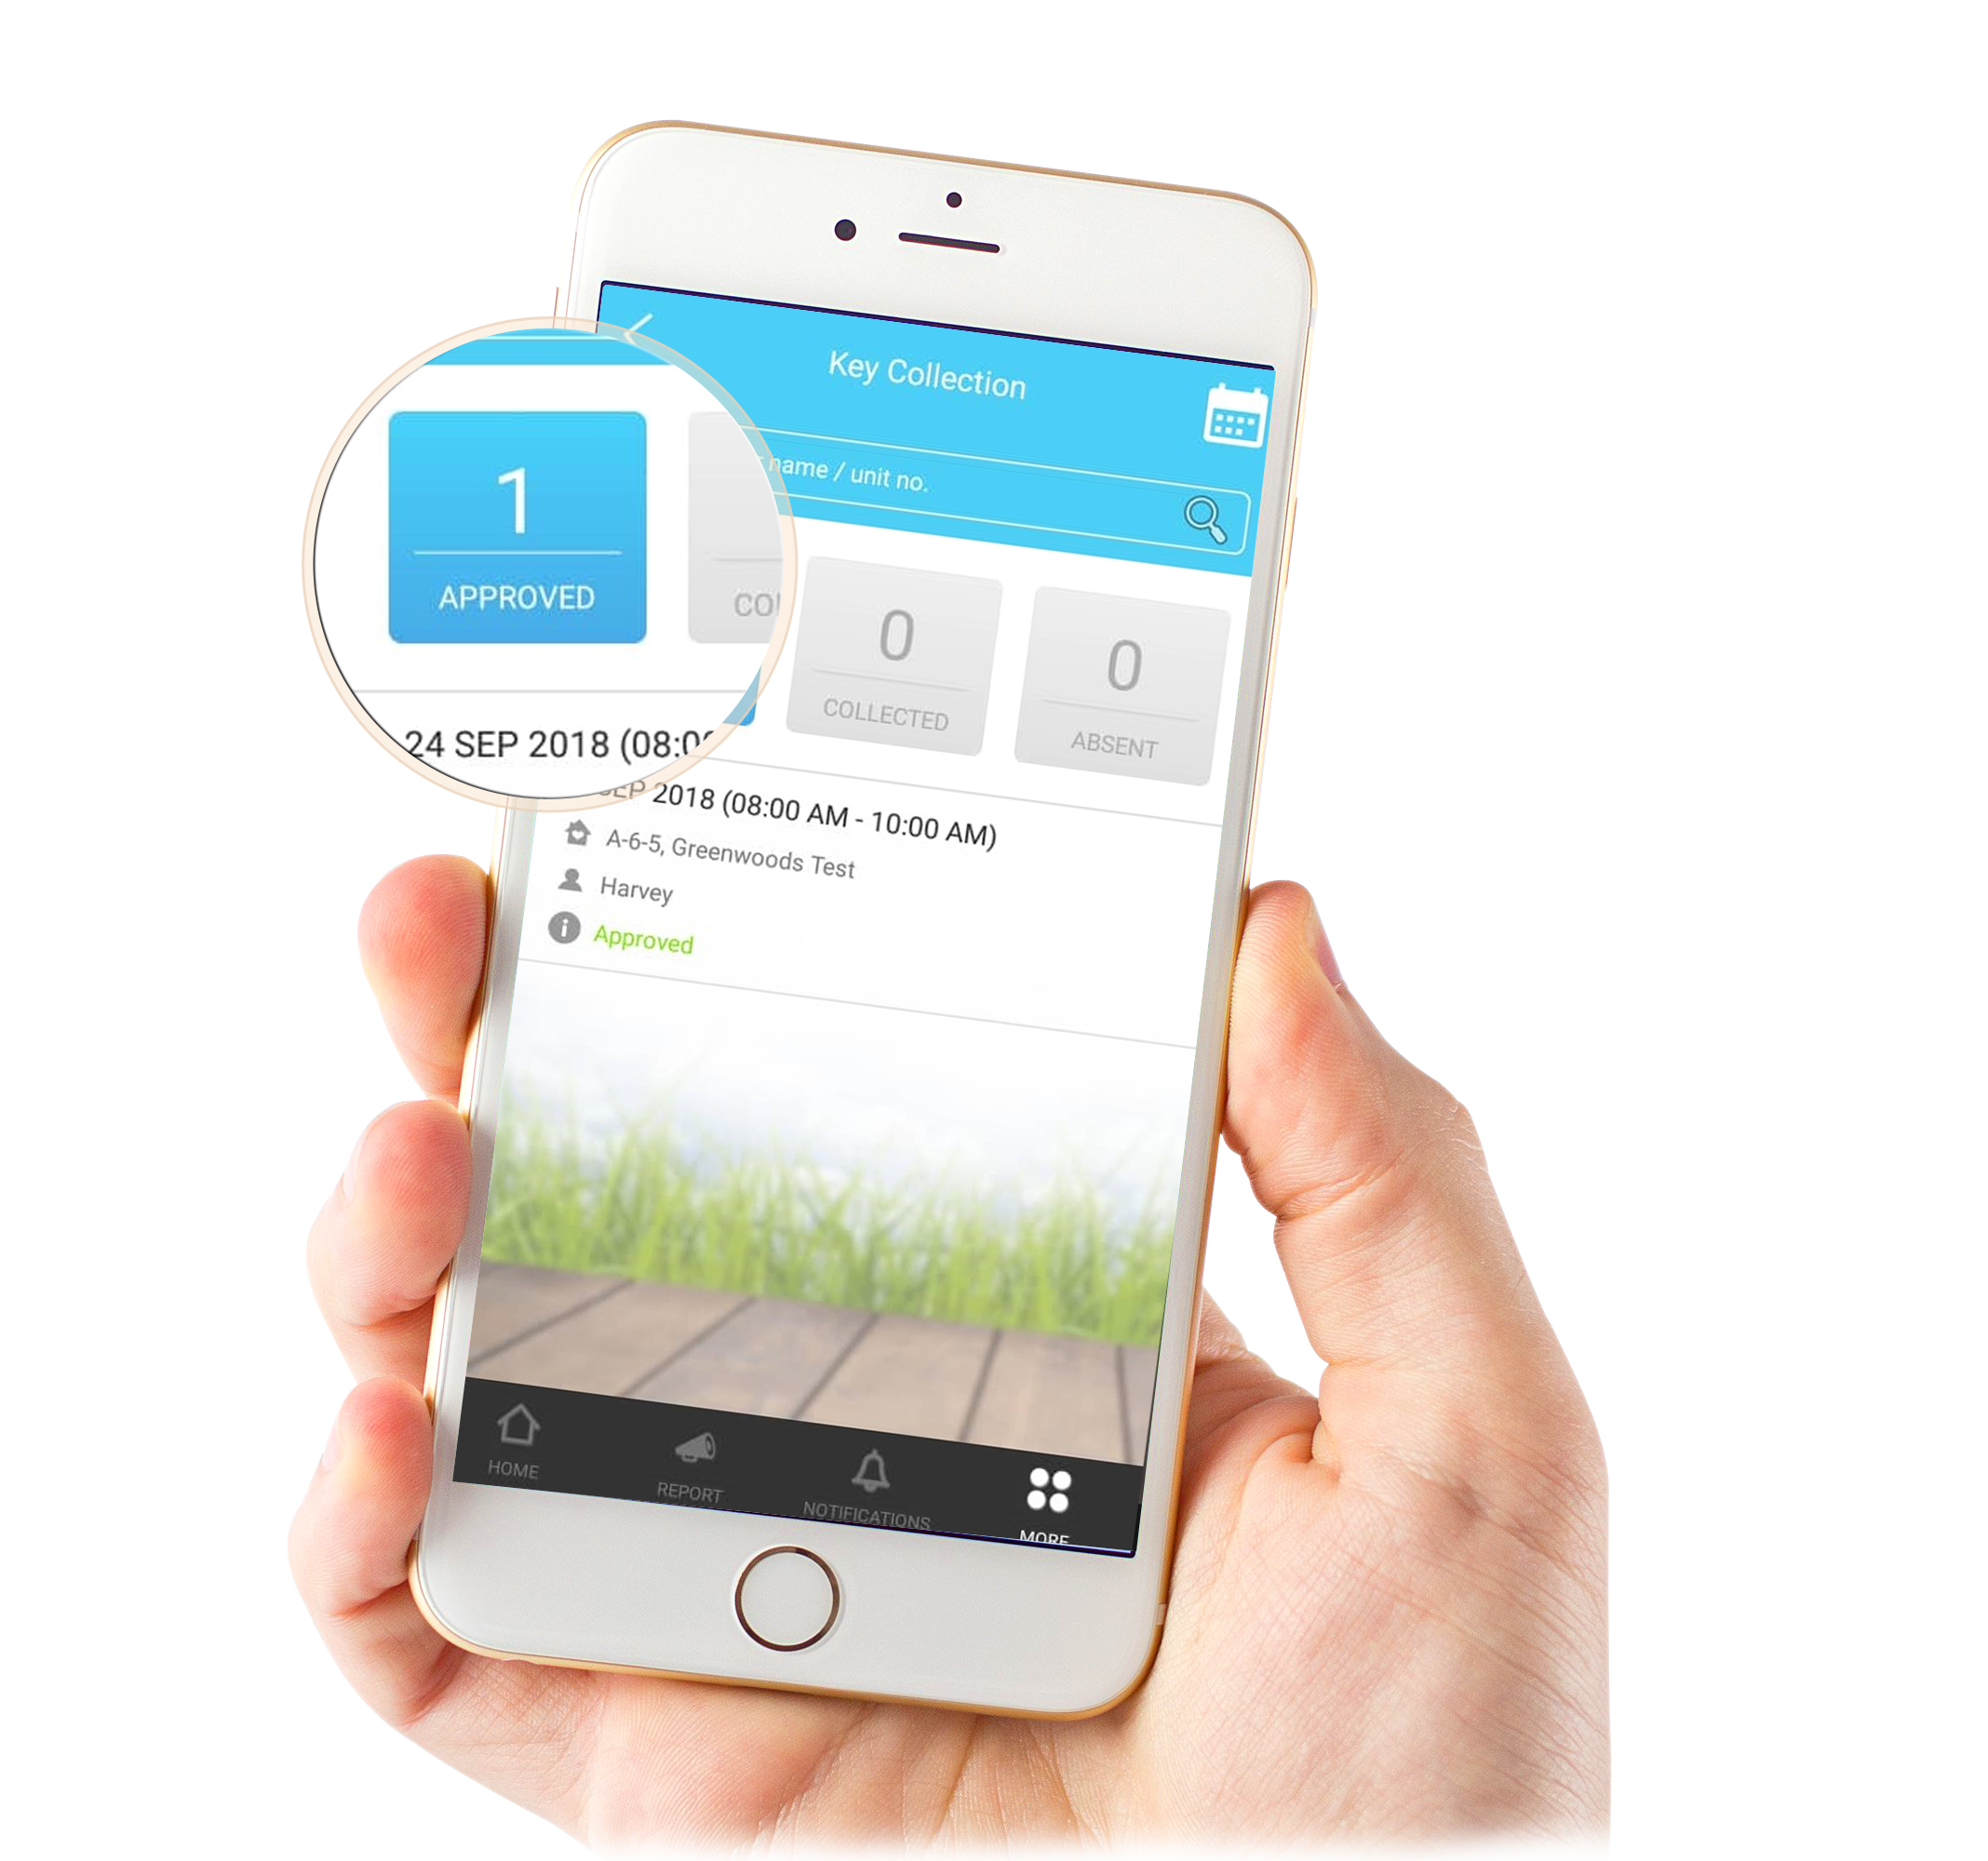
| Step 2 : Check the appointment bookings under “Pending”tab to approve/decline a booking. |
 |
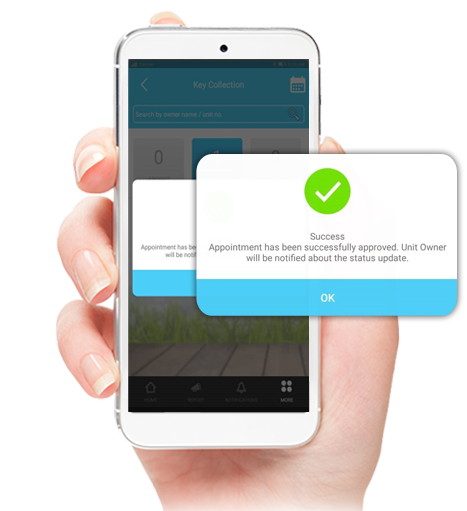
| Step 3 : Once done and approved, the unit owners will receive a notification on the status update. |
 |
|
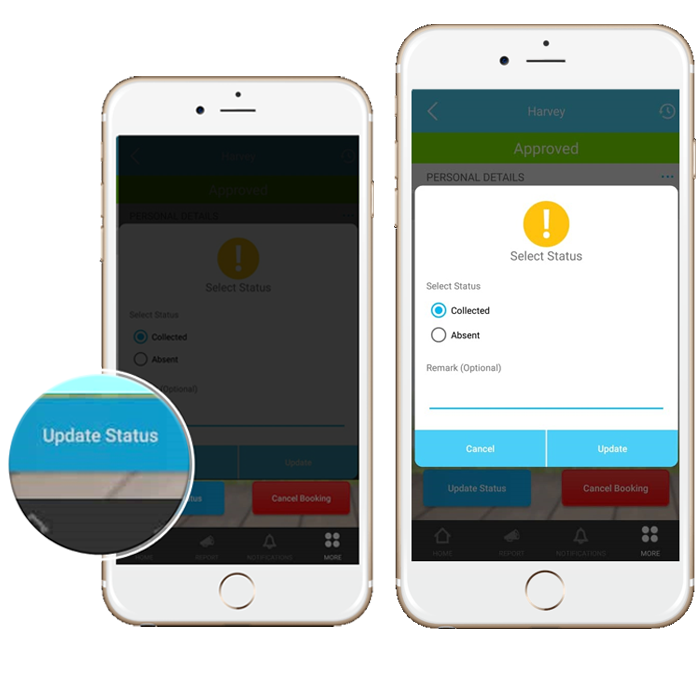
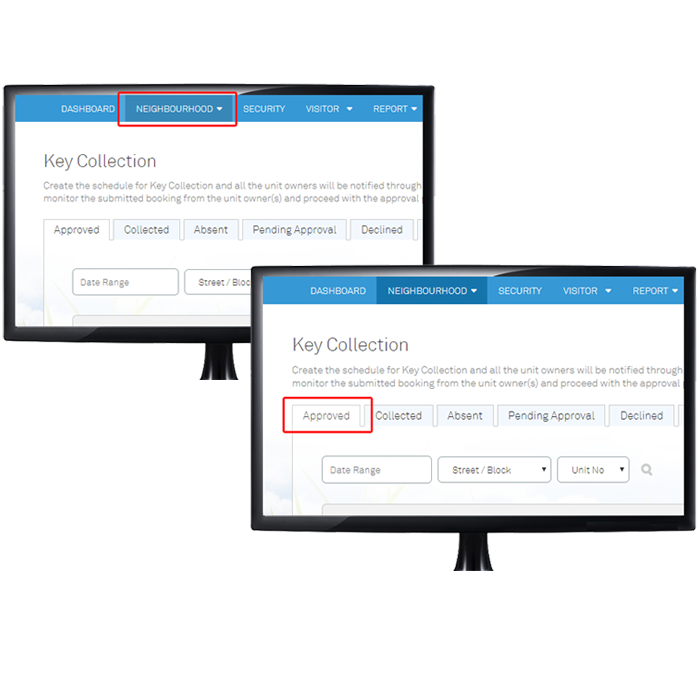
| Step 1 : Select unit under the “Approved”tab. |
 |
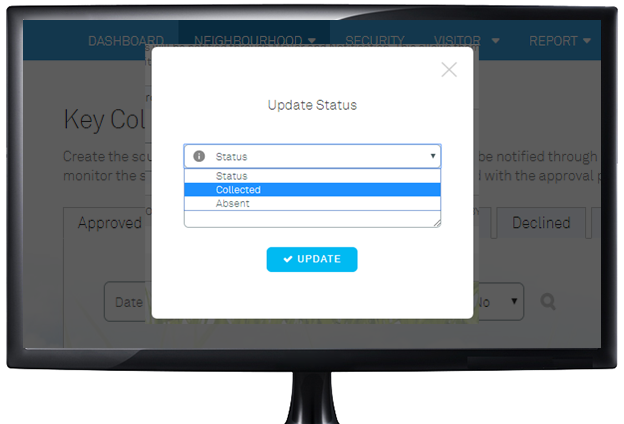
| Step 2 : Proceed to update the status. |
 |
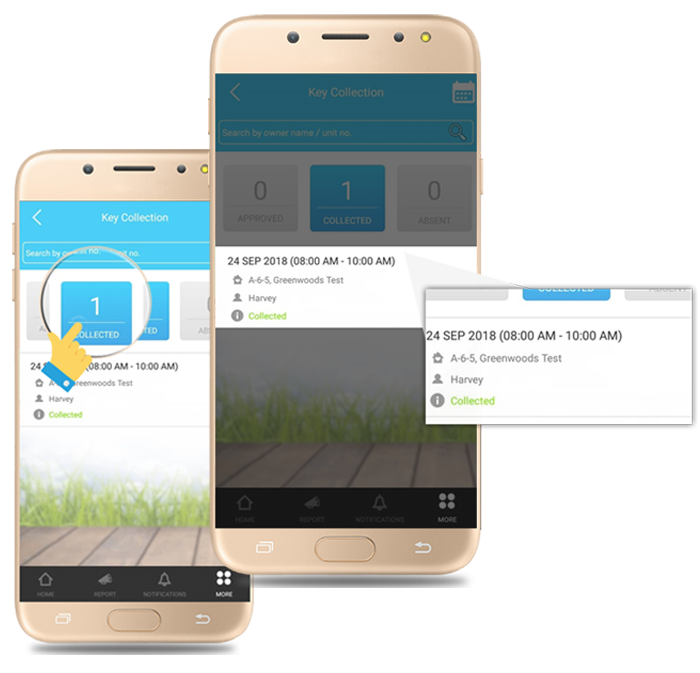
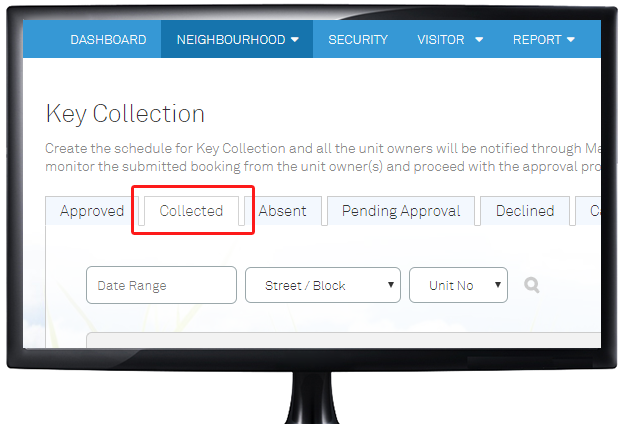
| Step 3 : Once done, the units that have collected the keys will be saved under the “Collected” tab. |
 |
|
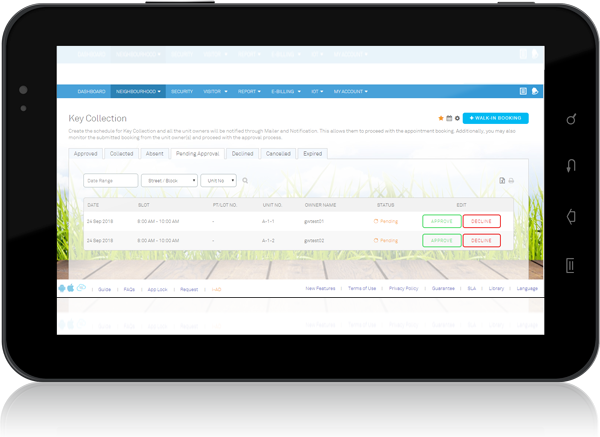
| Step 1 : Login to account at www.i-neighbour.com, go to “Neighbourhood” > “Pending Approval” > Approve/Decline booking. |
 |
| > Login to account |
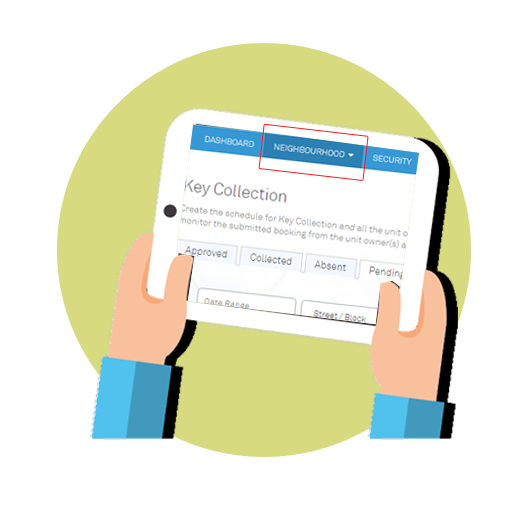 |
| > go to “Neighbourhood” |
 |
| > Pending Approval |
 |
| > Approval/Decline booking |
 |
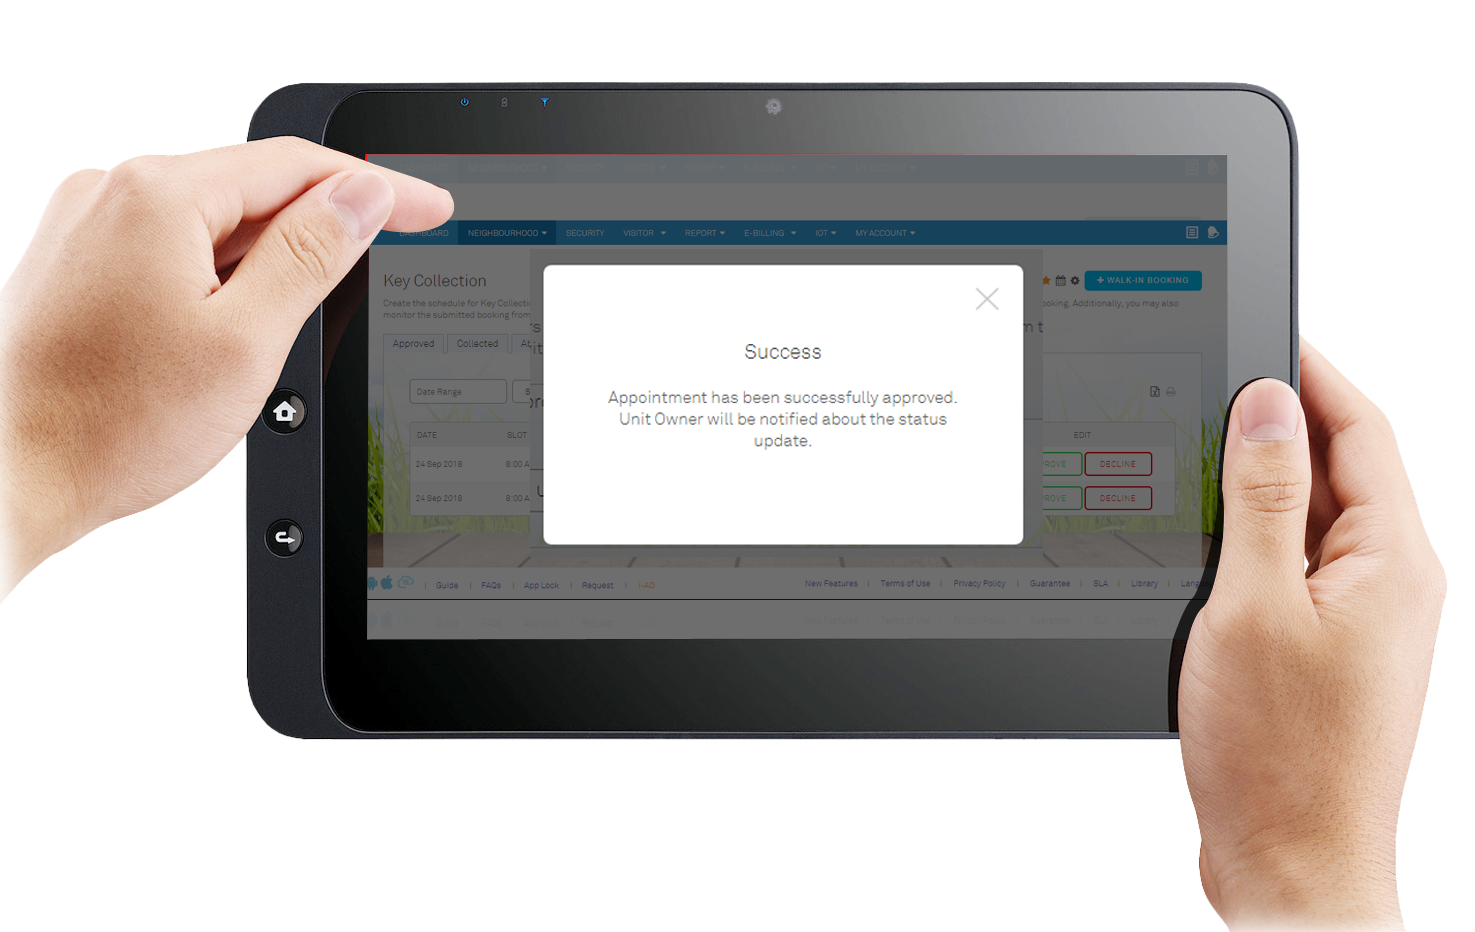
| Step 2 : Once done and approved, unit owners will receive a notification on the status update. |
 |
|
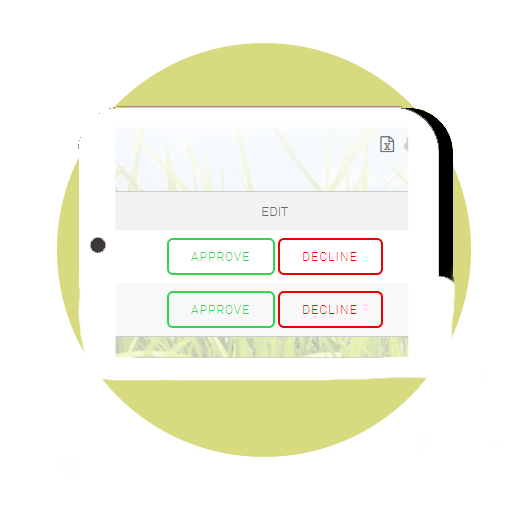
| Step 1 : Go to “Neighbourhood” > “Approved” > Edit. |
 |
| Step 2 : Proceed to update the status. |
 |
| Step 3 : Once done, units that have collected the keys will be saved under the “Collected” tab. |
 |
|
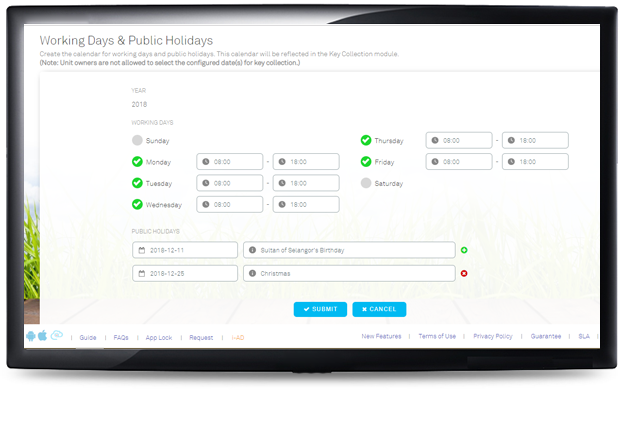
| Step 1 : Go to Neighbourhood > Settings > Working Days & Public Holidays. Please ensure that the Working Days & Public Holidays schedule has been configured. |
 |
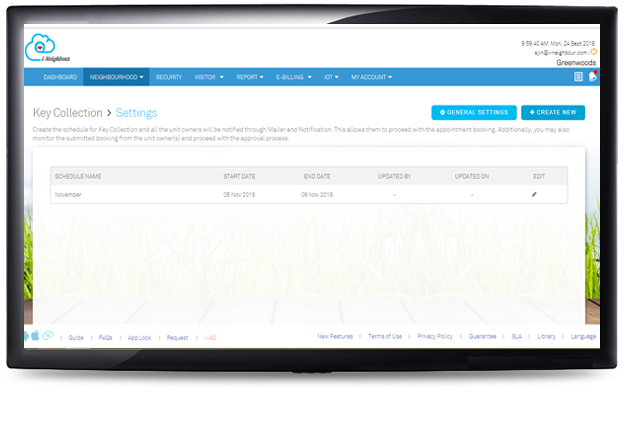
| Step 2 : Navigate to Neighbourhood > Key Collection > Settings > General Settings. |
 |
| Step 3 : Fill in the Schedule Name, Date, and No. of Slots per day. |
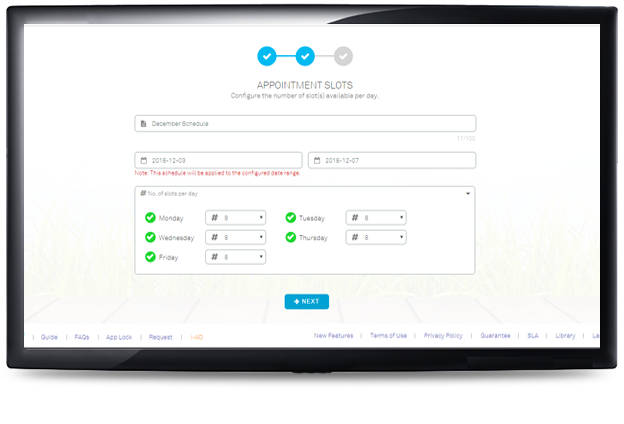 |
| Step 4 : Enter the Start and End time for every appointment slot and the name of the person in-charge. |
 |
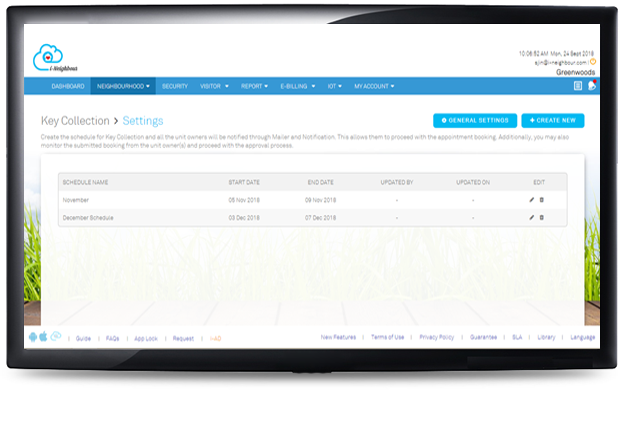
| Step 5 : Note that Admins may also edit or delete the schedule after its creation in the Key Collection > Settings homepage by clicking on the respective icons. |
 |