We’re excited to introduce several enhancements designed to improve payroll accuracy, flexibility, and usability across TimeTec HR.
ATTENDANCE MODULE
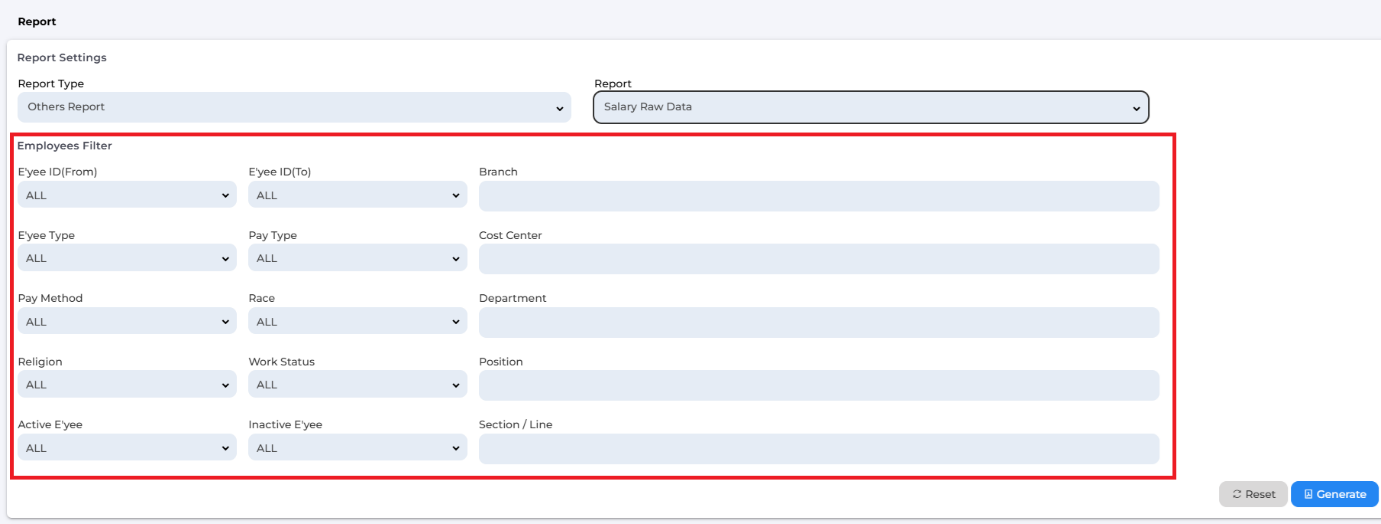
1. Employee Filtering for Salary Raw Data
You can now filter employees when generating Salary Raw Data, making it easier to review, export, and troubleshoot payroll information for specific groups.
2. New Payout Bank Added: Bank Sumitomo
Bank Sumitomo has been added to the list of supported payout banks, expanding our payroll compatibility and banking options.
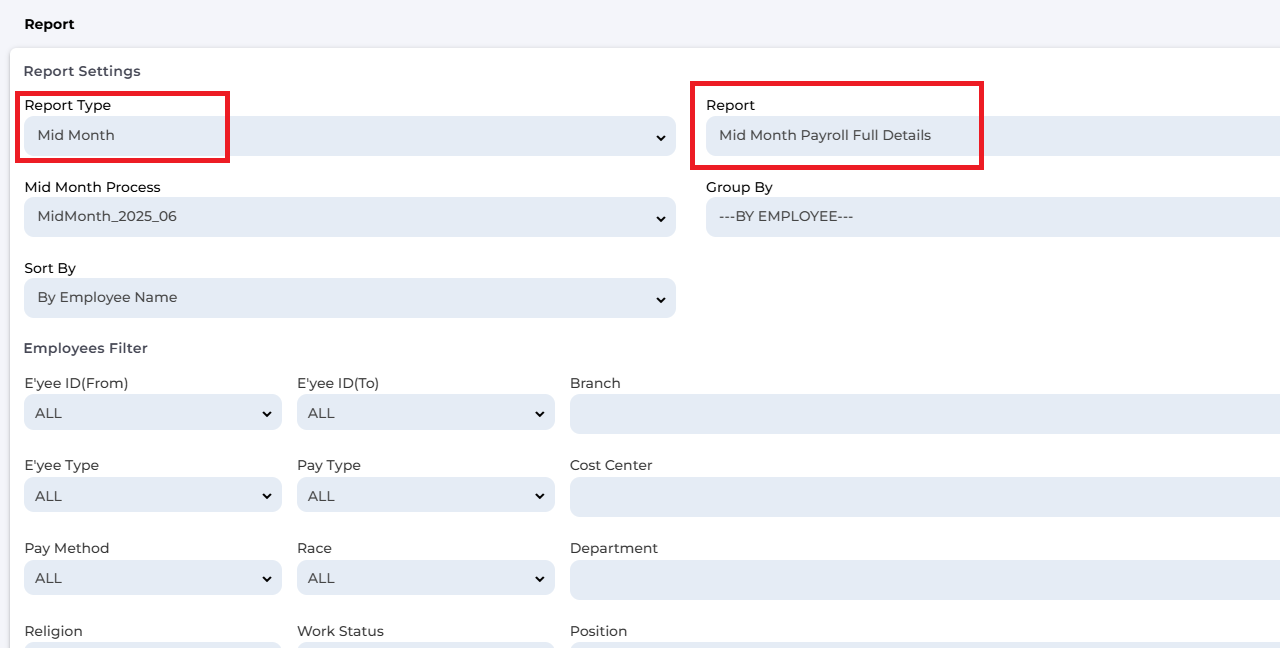
3. New Report: Mid-Month Payroll Full Details
A new comprehensive report is now available, providing full visibility into Mid-Month payroll calculations, adjustments, and salary breakdowns.
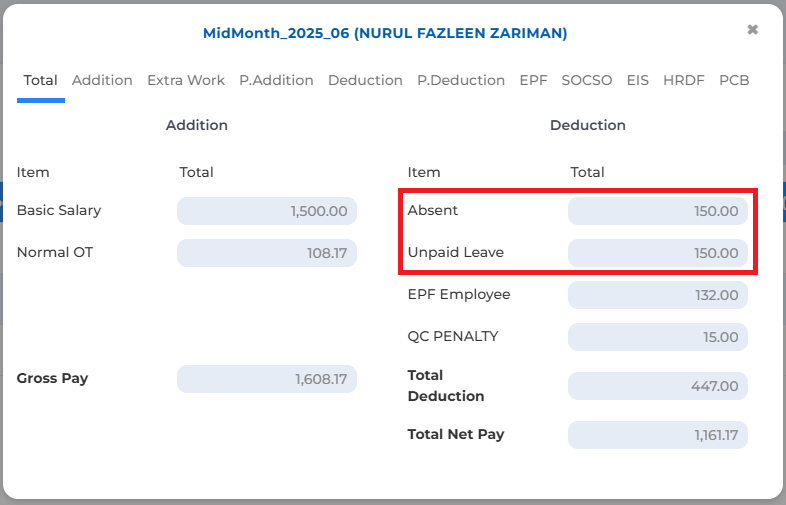
4. New Deductions in Mid-Month Payroll
Mid-Month payroll now automatically includes deductions for the following:
- Unpaid Leave
- Absence
- Short-hour/short-time work
This ensures more accurate and consistent salary calculations.
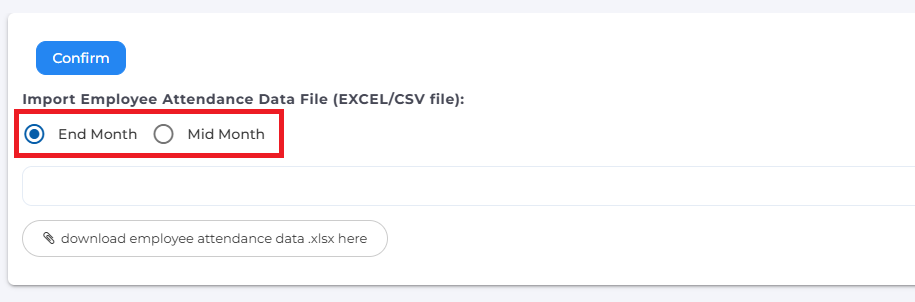
5. Mid-Month Option Added for Attendance Data Upload
When uploading employee attendance data files, you can now specify a Mid-Month payroll option, improving alignment between attendance records and payroll periods.
Note: If some of the screenshots or steps viewed here are different from the ones in the current system, this is due to our continuous effort to improve our system from time to time. Please notify us at info@timeteccloud.com, we will update it as soon as possible.
© Timetec Computing. All rights reserved.